MPN 42818-0212 Installation: Torque, Pull Tests & Safety
Installation Criticality
Incorrect mechanical installation is a leading cause of connector field failures. Industry audits attribute significant failure rates to mechanical negligence.
Goal & Scope
This technical guide establishes a standardized procedure for wire preparation, torque application, and validation for MPN 42818-0212. Following these protocols ensures traceability and reduces variability for bench technicians and field repair teams in the US market.
MPN 42818-0212: Overview & Typical Applications

Connector Overview & Form Factor
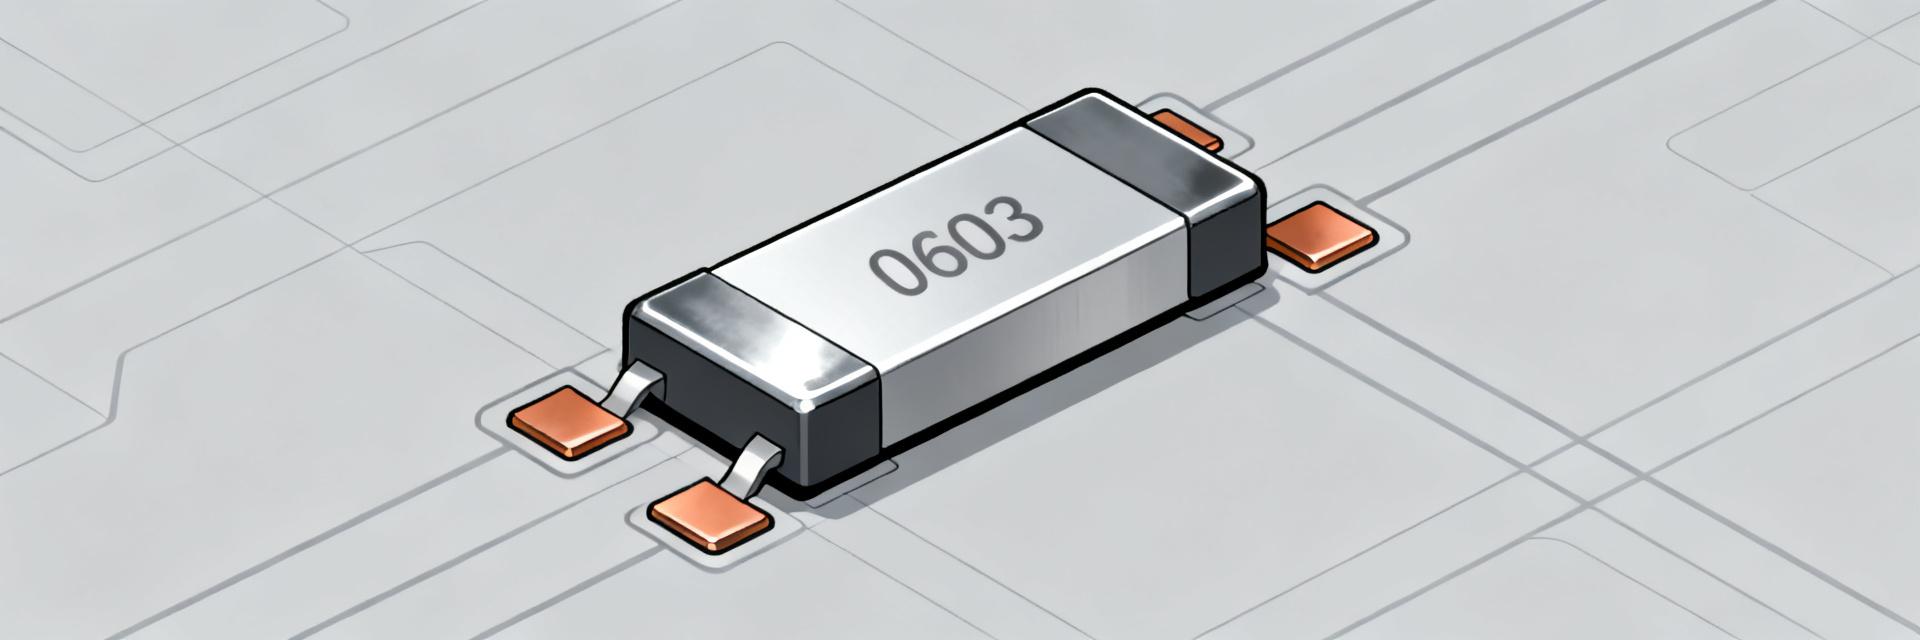
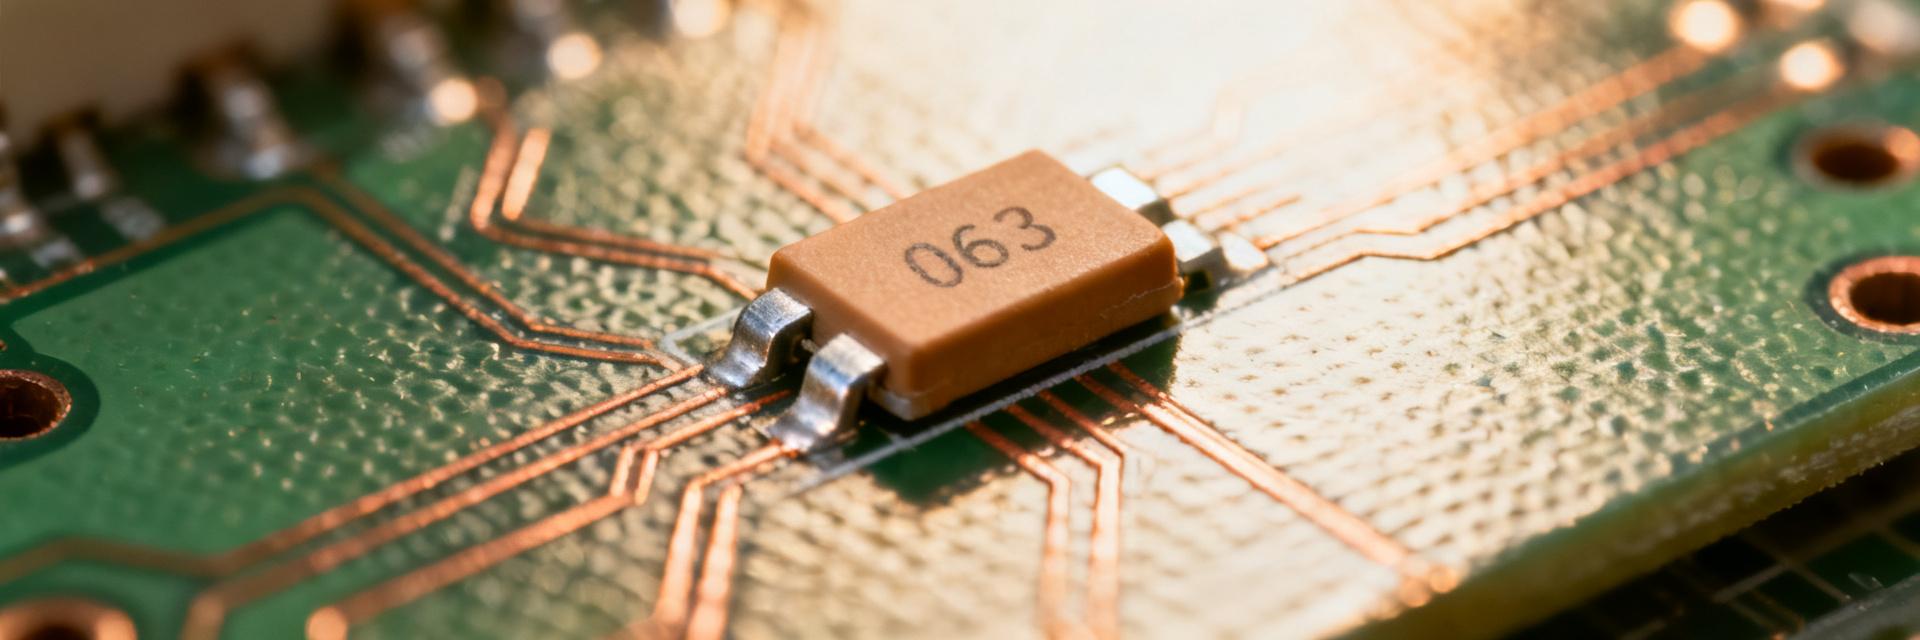
The MPN 42818-0212 is a 2-position, 10.00 mm pitch power connector housing designed for board-to-wire and harness applications. It utilizes high-temperature thermoplastic materials with robust metal contact inserts. Prior to installation, technicians must verify pin count, orientation, and vibration class compatibility.
Compatibility & Pre-Install Checks
Before assembly, cross-reference mating part numbers and approved wire gauges. Always check the insulation OD and retention hardware requirements. Maintain a pre-install checklist and log serial numbers in the assembly record to ensure warranty support and traceability.
Torque & Mechanical Specifications
*Note: Improper torque leads to electrical loss or plastic deformation. Always verify against the specific vendor datasheet before production.*
Step-by-Step Installation Procedure
Preparation & Crimp Inspection
Follow specific strip lengths and use approved tooling. Ensure no frayed strands or excess solder. Visual acceptance includes full conductor capture and insulation support. Document the tooling IDs used.
Torque Application
Seat terminals fully and mate connectors. Tighten screws in a cross-sequence if applicable. Apply torque in a single controlled motion. Re-check each screw after the full sequence to account for relaxation.
Mechanical Pull-Testing
Use a calibrated pull tester at a steady rate (25–100 mm/min). Sample 5–10 parts per lot. Record force in N or lbf and identify failure modes. Target force must exceed the thresholds defined in the datasheet.
Electrical Validation
Confirm integrity via continuity, contact resistance, and insulation resistance (Hipot) tests. Correlate high resistance readings to loose crimps or incorrect torque. Use in-circuit tests for final system verification.
Safety & Troubleshooting
Safety Precautions
- • Wear appropriate PPE and follow LOTO procedures.
- • Observe ESD controls for sensitive circuitry.
- • Adopt ergonomic practices to prevent repetitive strain.
Corrective Actions
Symptom: Intermittent contact.
Action: Perform pull test → Check torque → Re-crimp with approved tooling if wire is loose.
Symptom: Stripped threads.
Action: Inspect torque tool calibration → Replace housing and terminal.
Key Summary Highlights
- ✓ Verify datasheet torque and mechanical limits before assembly for traceability.
- ✓ Use calibrated torque tools (6–12 month intervals) and record values.
- ✓ Perform pull-tests on 5–10 representative samples per lot and log failure modes.
- ✓ Run electrical continuity and insulation checks post-installation.
- ✓ Follow safety-first rework: PPE, LOTO, and ESD controls are mandatory.