RM06J150CT Soldering Guide: 0603 15Ω Best Practices
Achieve repeatable, high-yield assemblies with professional guidance on footprint, reflow profiles, and process controls for tiny 0603 SMD resistor parts.
In production, inconsistent solder joints, tombstoning, and shifts in measured resistance are common pain points when placing tiny 0603 parts such as the RM06J150CT. This guide delivers a concise, step-by-step set of solutions covering footprint, stencil/paste, reflow profile, hand-solder techniques, rework, and inspection.

Quick component & footprint background: RM06J150CT and 0603 SMD resistor basics
What the RM06J150CT is and spec highlights
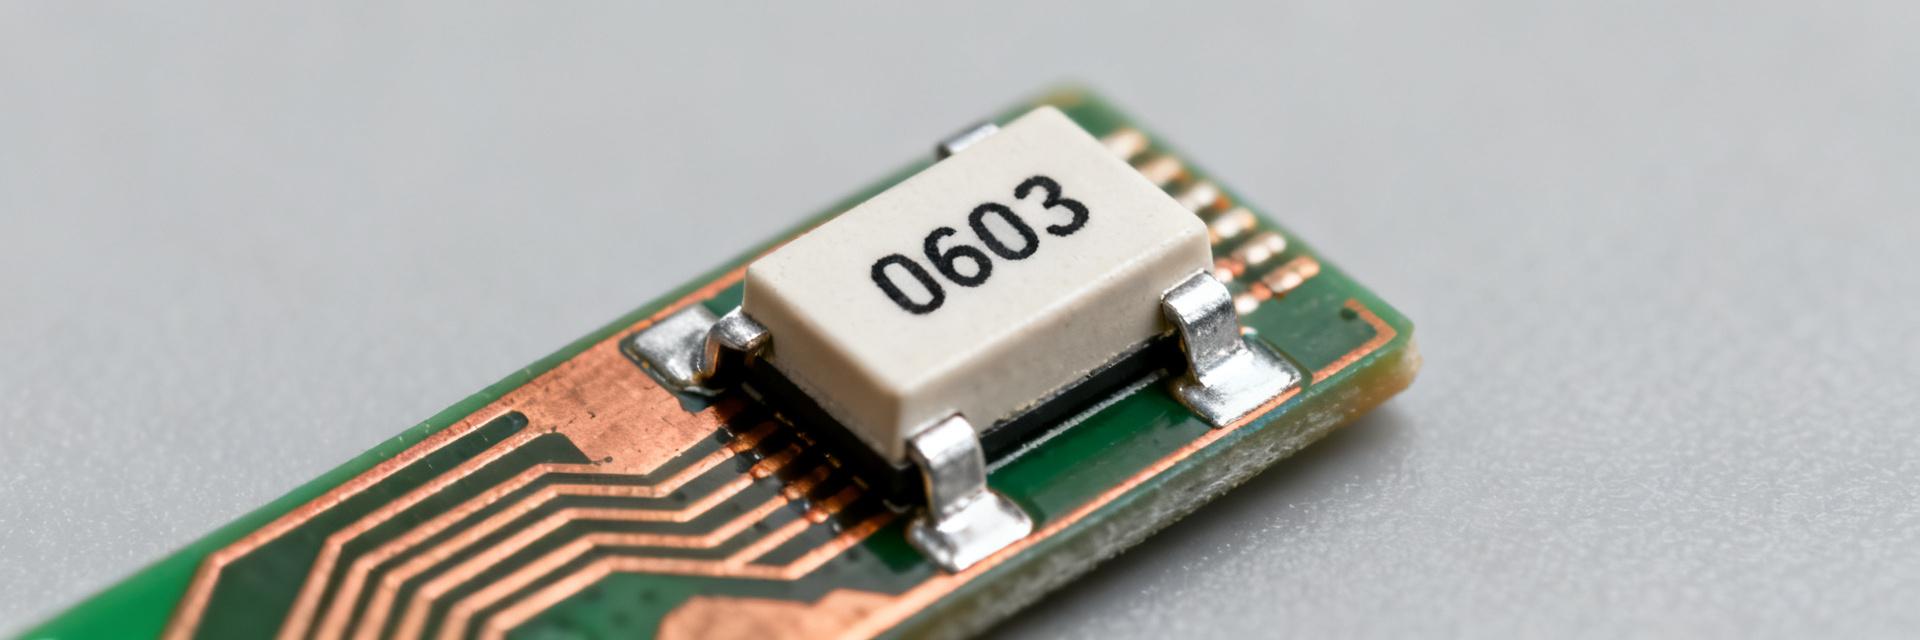
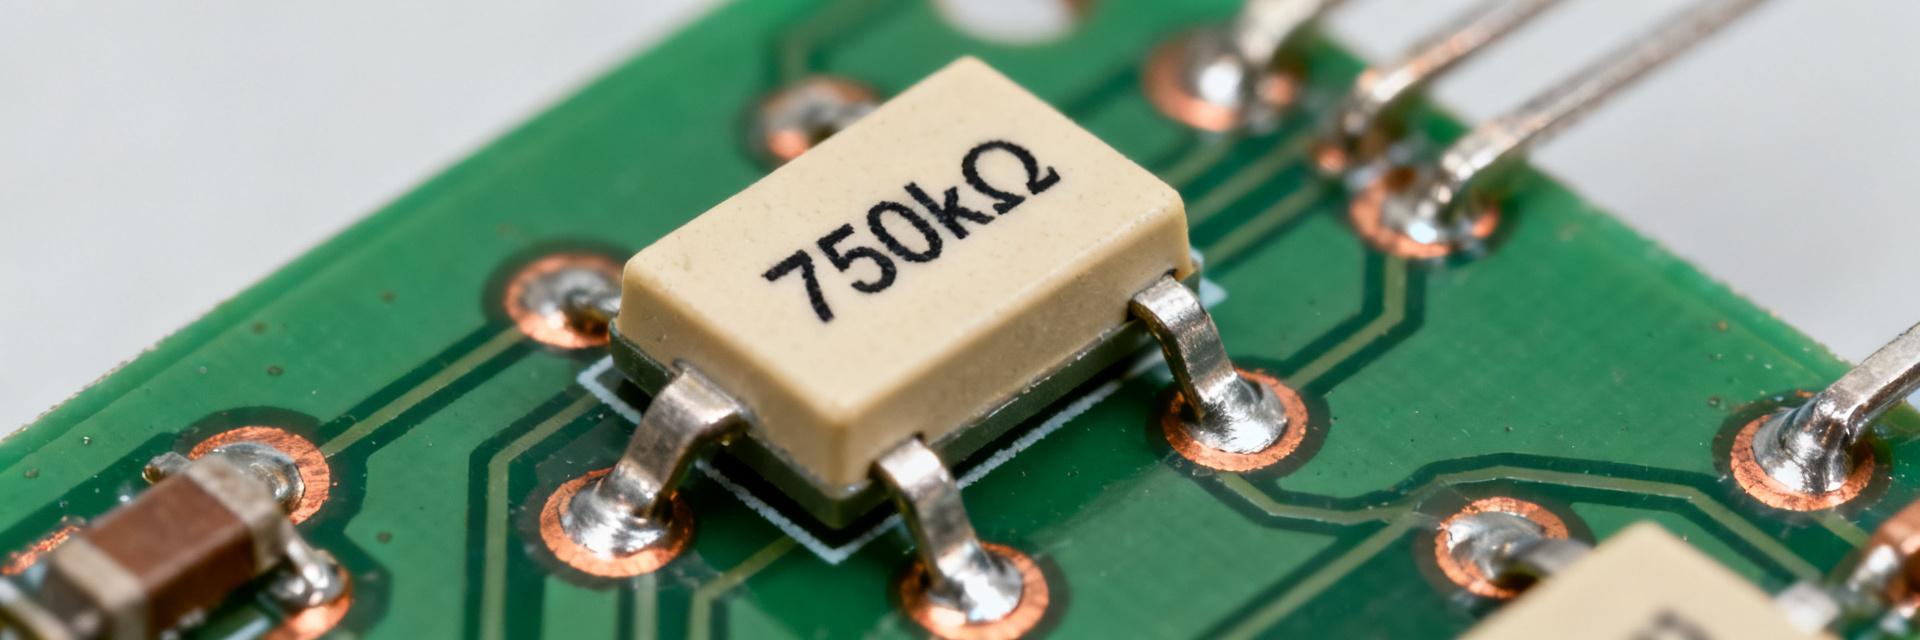
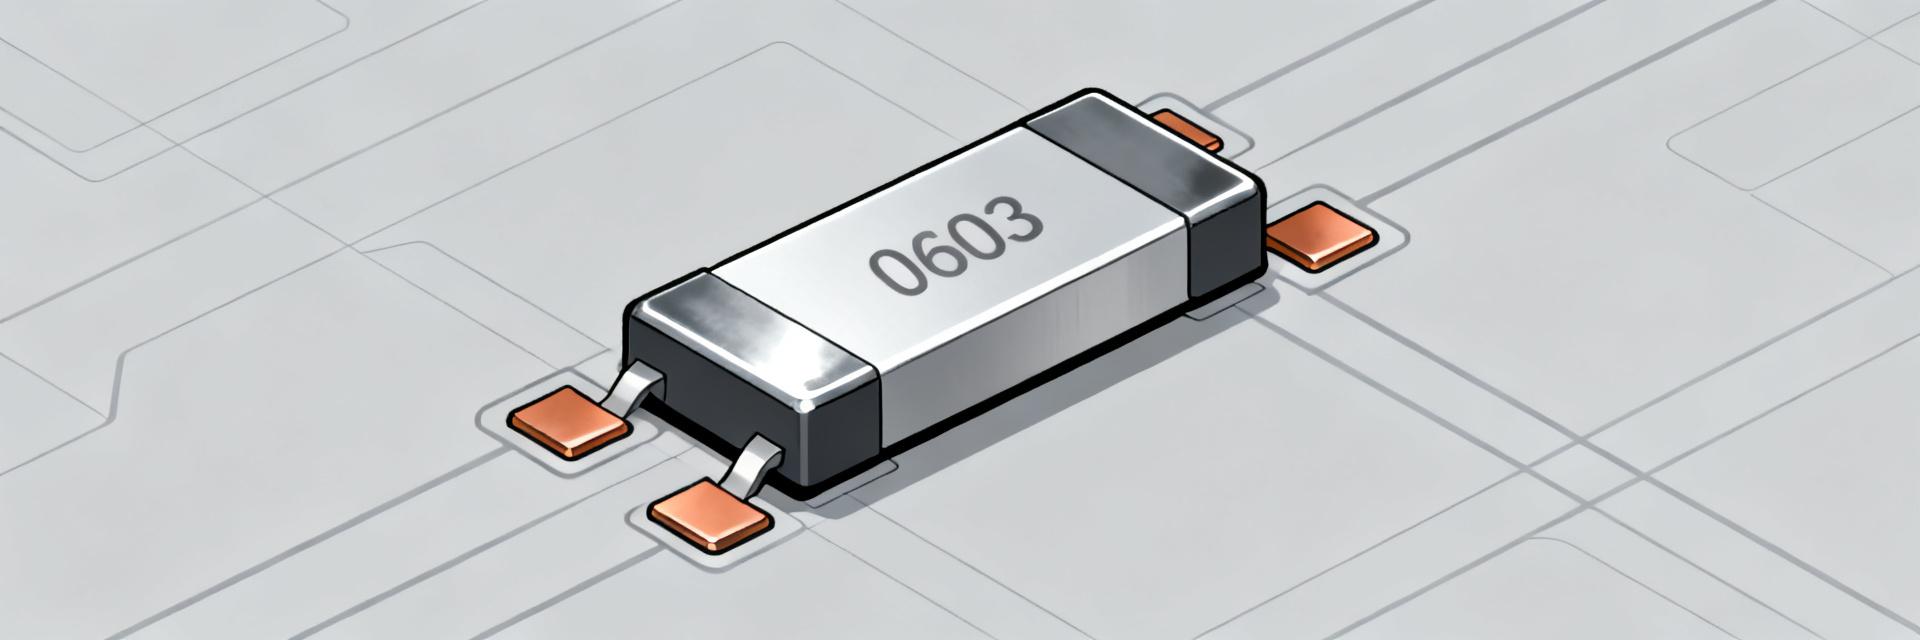
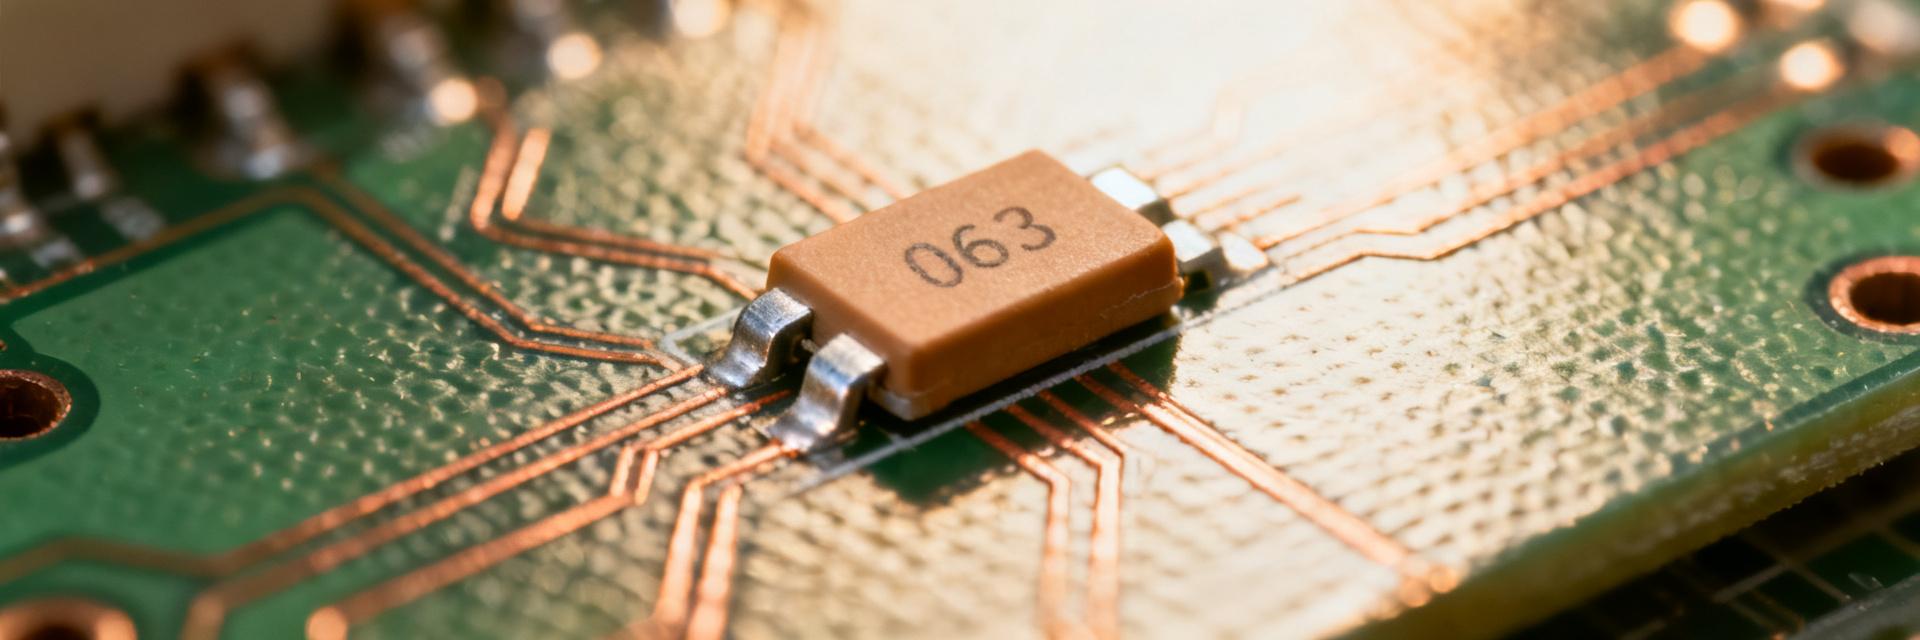
Point: RM06J150CT is a 0603 (1608 metric) thick-film resistor with a nominal resistance of 15Ω.
Evidence: Typical family specs include ±5% tolerance and rated power near 0.1 W (1/10 W); datasheets list maximum soldering temperature and mechanical limits.
Explanation: For assembly, verify the part-specific datasheet for maximum surface temperature and mechanical handling notes to avoid damage during reflow or hand soldering.
Footprint and pad fundamentals for reliable soldering
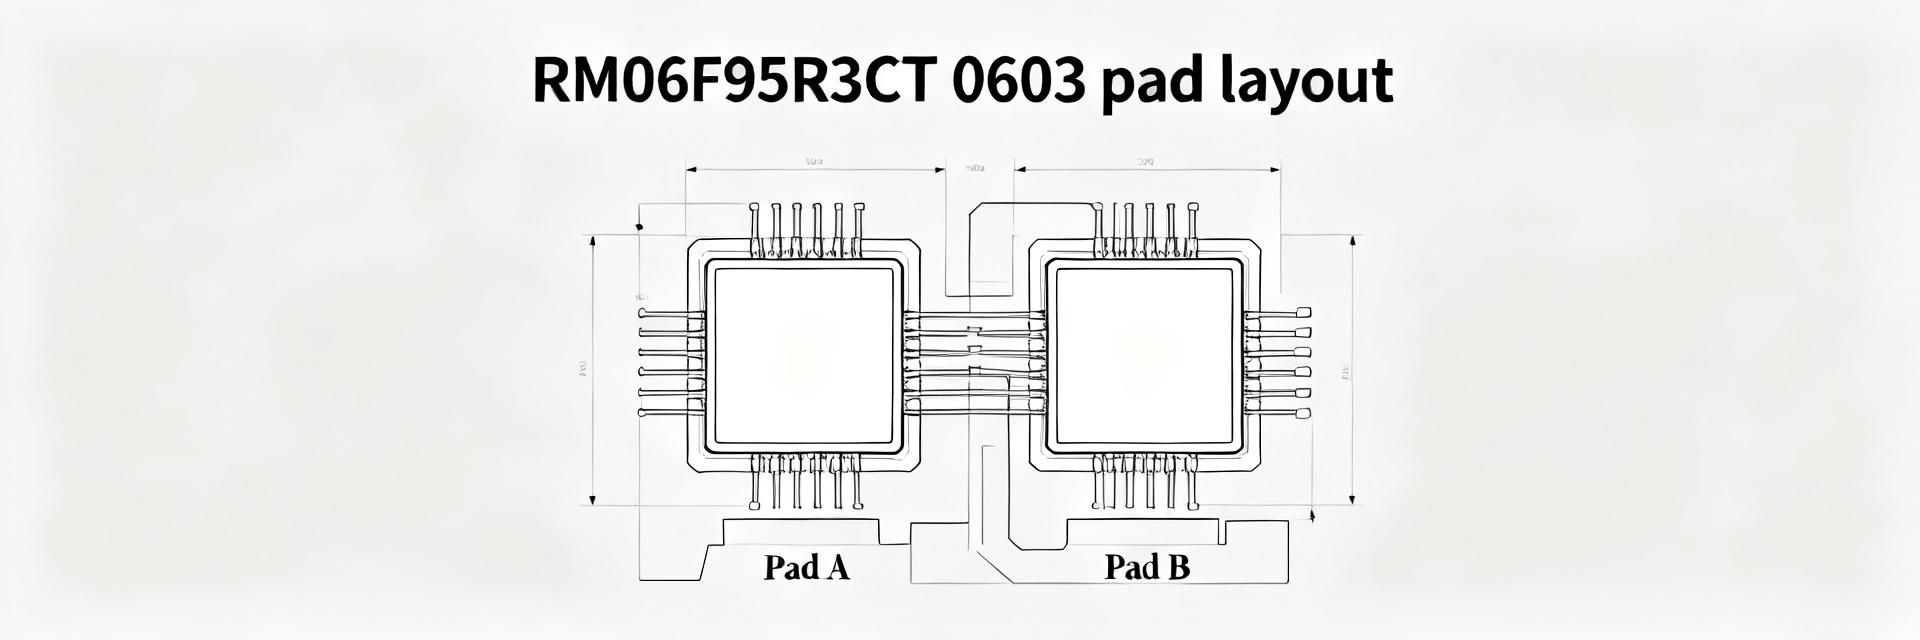
Point: A correct land pattern reduces tombstoning and ensures proper fillets.
Evidence: Follow IPC-family footprint guidance for 0603: pad length ~1.0–1.2 mm, pad width ~0.6–0.8 mm, and pad gap ~0.5 mm; paste apertures are smaller than pad area.
Explanation: These dimensions promote balanced wetting, consistent fillet formation, and controlled solder volume; adjust for board copper and thermal mass to avoid skewed solderability.
Solder paste, stencil and printing: choices that improve yield
| Parameter | Recommendation | Impact on 0603 Yield |
|---|---|---|
| Solder Paste | Pb-free SAC Alloys (Type 3 or 4) | Reliable wetting & fine-pitch compatibility |
| Stencil Thickness | 0.10 mm – 0.15 mm | Controls volume to prevent bridging |
| Aperture Ratio | 60% – 80% of pad area | Reduces risk of tombstoning |
Printing process controls and inspection
Point: Process control during printing prevents many downstream defects.
Evidence: Control squeegee speed, pressure, snap-off distance, and alignment; inline SPI (Solder Paste Inspection) should target consistent deposit volume and detect insufficient or smeared prints.
Explanation: A stable print reduces placement shift, minimizes rework, and ensures the paste volume supports balanced fillet formation on both ends of the 0603 resistor.
Reflow profile and placement: how to solder RM06J150CT reliably
Visual Reflow Profile Target (Pb-free)
150°C
180°C
245°C
Time (s) →
Pick-and-place accuracy and placement best practices
Point: Accurate placement minimizes print disturbance and tombstoning.
Evidence: Use appropriately sized nozzles, tight vision alignment tolerances for X/Y and rotation, and moderate placement force/speed; vacuum settings must hold 0603 parts without excessive lift.
Explanation: Balanced paste volumes on both pads, reduced placement dwell on fresh prints, and timing placements to avoid long delays before reflow help eliminate tombstoning and misalignment.
Hand soldering & Rework
Hand-solder Tips: Use a 20–35 W iron with a fine chisel tip at 320–350°C. Limit contact to 2–4 seconds per pad.
Rework: Use preheat, hot-air nozzles, and vacuum tweezers. Always replace paste if pads are disturbed.
Inspection Criteria
- Visible meniscus fillets on both terminals.
- No solder bridging between adjacent parts.
- Absence of tombstoning or skewed placement.
- Resistance value within specified ±5% tolerance.
Troubleshooting & production checklist
Common Failure Fixes: Tombstoning is often due to asymmetric paste volumes; weak fillets point to low paste deposits or stencil wear. Address by adjusting stencil apertures and balancing pad copper.
Production Readiness Checklist:
- Verify footprint/stencil alignment
- Confirm paste spec & storage
- Validate reflow with thermocouples
- Optimize pick-and-place program
- Run pilot build with AOI
- Document ESD handling steps
Summary
Follow correct footprint and stencil guidance, control the paste printing process, use an appropriate reflow profile, and apply careful pick-and-place practices so RM06J150CT 0603 SMD resistor 15Ω parts solder reliably in production. Verify process settings with thermocouple runs and a pilot build, and always confirm limits shown in the component datasheet before full production.